How to Prepare Your Walls Before Painting
This year, at least 70% of Americans have decided to do a home improvement project, according to a recent study. People are looking for a way to refresh their decor and make their home feel more inviting.
One of the best ways to do that is with a fresh coat of paint. It’s also one of the quickest and most affordable DIY projects.
That said, interior painting is much more complicated than you might think. You can’t just open a can of paint and expect great results.
One of the most important steps is wall preparation before painting. Read on to learn how to prepare walls for painting so you can get the transformation you’ve been dreaming of.
5 Steps: Wall Preparation Before Painting
Dust and Wash the Walls
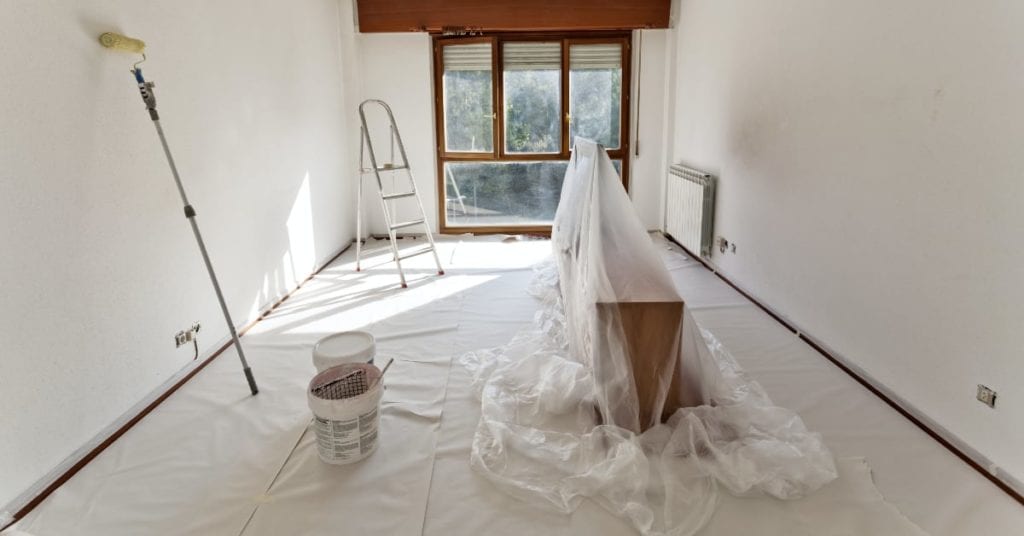
Once you’ve moved the furniture out of the room or covered it with drop cloths, it’s time to clean the walls. You can use a vacuum or a dry cloth to remove any dust or cobwebs.
In most cases, you can wash the walls with a sponge and some warm water. If the walls seem very dirty, you can add some multi-purpose cleaner to the water. Just make sure to follow it with plain water to remove any soap residue.
For kitchens or high-traffic areas, add some grease-fighting dish soap to the water and wipe with a clean rag. Make sure to let the walls dry completely before you move on to the next step.
Fill Nail Holes or Cracks in the Wall
If you have any nail holes, cracks, or blemishes on the walls, it’s important to cover them. Apply a thin layer of spackling paste with a putty knife. Let it dry for at least 24 hours.
It’s also important to look for any signs of mold or mildew before you paint. Painting over it won’t fix the problem and it will grow through the fresh paint.
Make a mixture of one part bleach and three parts water. Wearing gloves and goggles, apply the bleach solution with a sponge. After a few minutes, scrub it with a soft brush, and wipe it with clean water.
Sand Wall Surfaces as Needed
Once the spackling paste dries, you can use a piece of sandpaper to smooth out the surface. Then, wipe off the dust with a damp cloth.
If there’s any peeling paint, scrape off any loose pieces. Use your sandpaper to smooth the surface. This will provide a smoother surface for the paint.
Protect Trim with Painter’s Tape
Whether you have unpainted woodwork or a wall sconce, it’s important to protect it with painter’s tape. This will protect the trim from unwanted paint and it will make painting the walls much easier.
Make sure to smooth out any bubbles in the tape. This will ensure you get clean paint lines and no drips seep through.
Paint a Coat of Primer
The last step in learning how to prep walls before painting involves primer. Applying a coat of primer will cover stains and provide a smooth surface for your paint. It can also cut down on the amount of paint you need to buy.
To find out how much the primer needs to dry before you paint, refer to the instructions on the can.
Need Help with Wall Preparation Before Painting? Hire a Pro

Wall preparation before painting is a critical part of the painting process. It will ensure your paint looks vibrant and smooth.
But, good painting does take a lot of time and effort. If you’re not up to the challenge, why not let the pros at Carolina Blue Painting handle it for you? Contact us today to get a quote.