Tips for Successful Deck Staining
Did you know that American backyards, as we know them today, didn’t really exist until after World War II?
Today, our backyards are an important space for spending the summer months barbecuing with friends and family. For some people, a deck is a central component of that space.
If your deck is looking a little weather-worn, it might be time for a deck staining. But how do you go about that, exactly?
We’re giving you 5 tips on how to stain your deck the right way. Keep reading to learn more.
1. Get the Right Deck Staining Tools and Materials
The first thing you need for any DIY job is the right tools. To stain a deck, you’ll need a few things you likely have laying around the house and a few things you probably don’t have on hand.
For these items, you might need to make time for a trip to the hardware store:
- Deck cleaner
- Stain & sealer
- Clear plastic
- Pole sander or a power sander
In terms of the stuff you probably have at home, you’ll need a broom, a garden hose, a putty knife, and 80-grit sandpaper.
2. Staining a Deck Temperature Considerations
The temperature outside when you stain your deck is more important than you might think. Though it may be more comfortable to stain a deck at cooler temperatures, that can affect the curing process. Temperatures that are too high can also affect your stain, by way of causing the stain to evaporate or dry too quickly.
For these reasons, it’s crucial you stain your deck at the right temperature. The good news is, the range is wide. Deck staining is safe in temperatures between 50-95 degrees Fahrenheit.
3. Staining a Deck That Is Already Stained
You can definitely stain over an already stained deck, but you need to use the right type of stain.
A semi-transparent stain isn’t going to work on an already stained deck. That’s because it won’t adhere to wood that’s already been coated. It’s also influenced by the color beneath it, so it likely won’t look right by the time it’s cured.
Instead, use a solid stain. These can be used over existing solid stains or even semi-transparent stains. Alternatively, you can strip the stain completely and start from scratch.
4. How to Stain an Old Deck
The type of stain you use will also be influenced by the age of your deck. Semi-transparent stains work best on older decks. That’s because they give the grain a clean and uniform color.
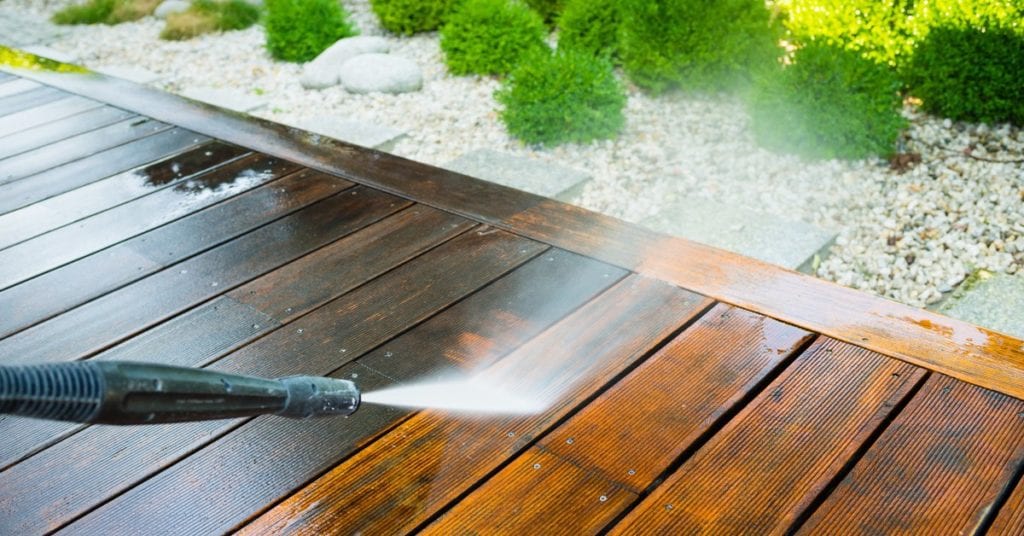
Before staining an old deck, be sure to give it a really good wash. You should also sand it down before applying the new stain.
5. Hire a Professional
For the best results when it comes to deck staining, consider hiring a professional. Professionals know their wood and they know their stain. They also have all the right tools for the job to ensure there’s no damage done to your deck in the process.
Besides their expertise, hiring a professional will save you time and energy. If you’ve never done this before, it’s your best option.
Get a Deck Staining Quote from Us
Deck staining requires the right tools, the right temperature, and the right stain. Some of those items will change depending on the age of your deck and whether or not it’s already stained. Simply put, there’s a lot to know to get it right the first time.
But we know decks like we know the walls inside your home. Contact us for a quote on your deck staining project and save yourself time and energy.