Your Guide To Staining an Old Deck
Does your deck look worse for wear? Don’t worry; there’s a solution.
You don’t have to replace your deck. Staining an old deck can do wonders and make it look as good as new.
Outdoor spaces are more in demand than ever before. Whether it is for outdoor workouts, a home office, or for dinners outside, a deck can be the perfect solution. However, it needs maintenance.
Staining a deck protects the material from weather damage and it also looks great.
So how do you stain an old deck? Whether you are staining for the first time or staining an old weathered deck, this guide is for you. Keep reading for all you need to know!
How to Prep an Old Deck
Prepping the area is the first step in how to prepare an old deck for staining.
Does your deck need any repairs? Check for any loose or broken boards, structural issues, and any signs of rot. Make the required repairs before continuing.
Check the weather forecast, as a new stain will not apply well to wet wood or in direct sunlight. The weather is often the reason why you are staining an old weathered deck, after all! A dry few days, with cloud and low humidity, are the perfect conditions to stain an old deck.
Clean the Deck
How to clean and stain an old deck depends on whether you have an existing painted or varnished deck. If you do, it is recommended you strip this with a chemical cleaner after you can clean and sand.
If your deck is from before 2004, then a professional should do this. Deck material may have been treated with chromated arsenicals.
If you have a transparent or semi-transparent stain or clear sealer, you can just clean.
A pressure wash helps ensure a deep-clean, but it has to be done right. If there is high or close pressure, then you can damage the wood. A professional service can also do this for you.
Alternatively, use a garden hose to wash down or a deck cleaner. Remove all dirt from between the boards.
Pick Your Stain

There are different types of stains to choose from. Pick an opaque stain for full color. This can also go over any existing stains.
A semi-transparent stain allows some of the wood grain shows through. For example, if you are staining an old cedar floor and want to maintain some of the grain, this is for you.
A transparent stain just seals the wood and has less UV protection than other options. However, it maintains the wood’s natural look.
Start to Paint
Wait until the deck is fully dry to begin.
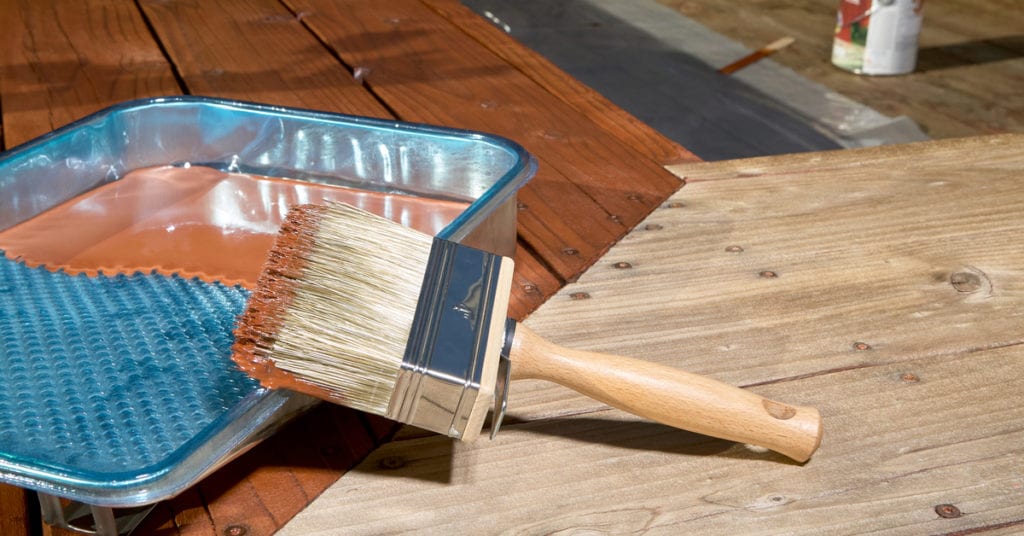
Staining an old deck will be more successful if you use a suitable brush to apply the stain. A wide thick synthetic brush with short brushes is good for water-based stains. A natural bristle brush is better for oil-based stains.
Apply thin coats. It is best to do two coats for a consistent finish. A clear stain can be done in one.
Start with any railings and spindles. Finish painting with the deck surfaces. Then wait around 72 hours to let it dry.
Staining an Old Deck the Right Way
Now you have your new deck to enjoy! Make sure to maintain it to get the most out of it. Most stains need to be redone every 1-4 years.
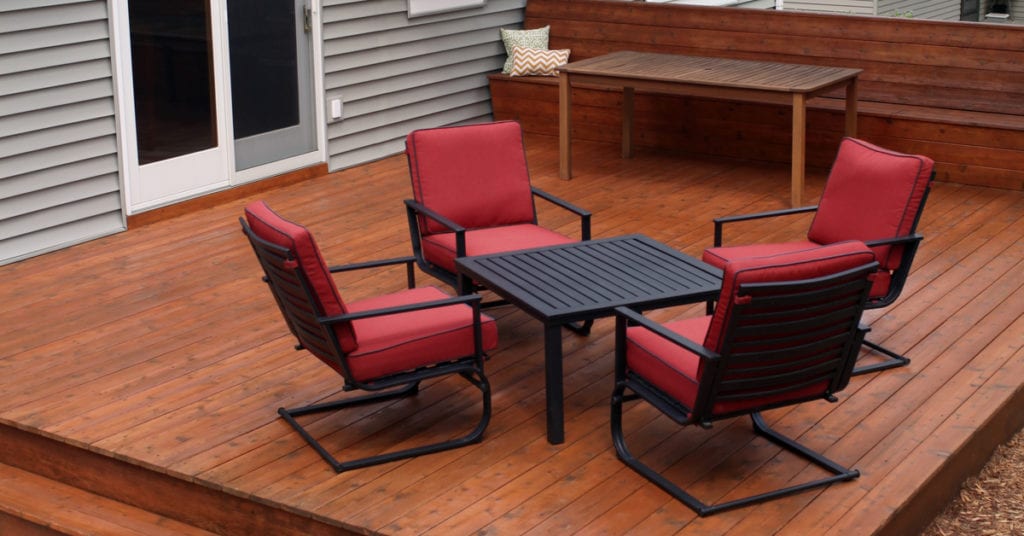
When done right, staining an old deck can breathe new life into your outdoor space. Use a professional service to guarantee this.
Contact Carolina Blue Painting today to find out more about our staining service. Put the stress behind you and leave these timely hours for something fun and exciting. The cost to hire a professional painter may be well worth it.

